ImageWear
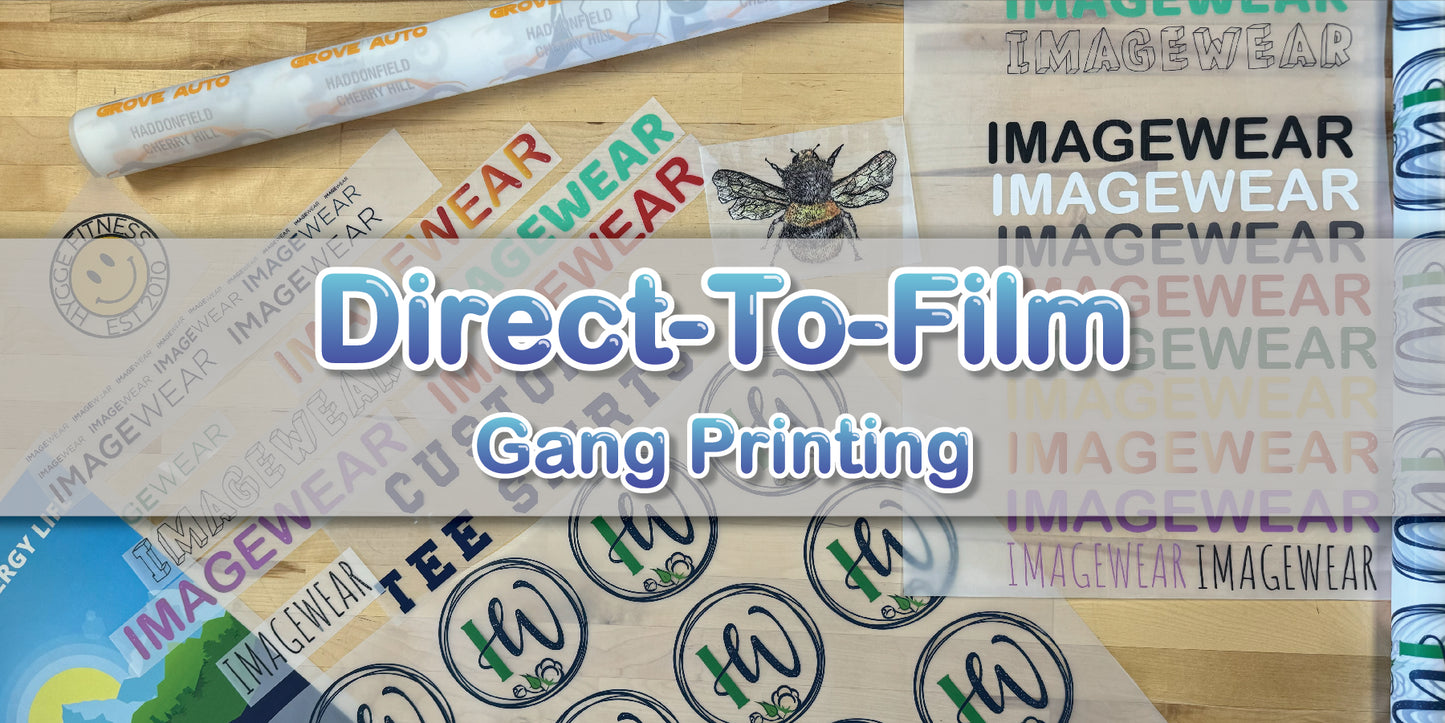
Gang Sheet Builder
Gang Sheet Builder
Couldn't load pickup availability
Product Details
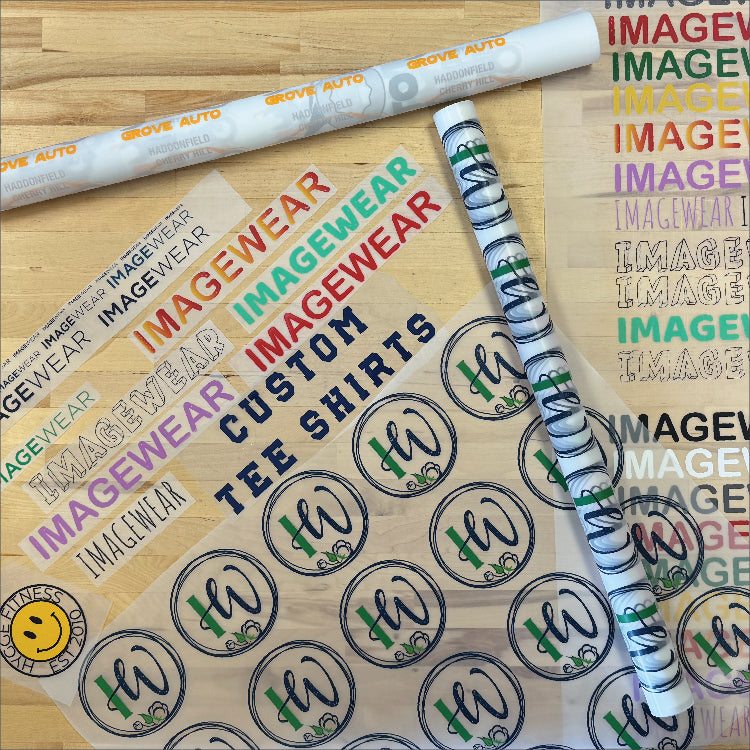
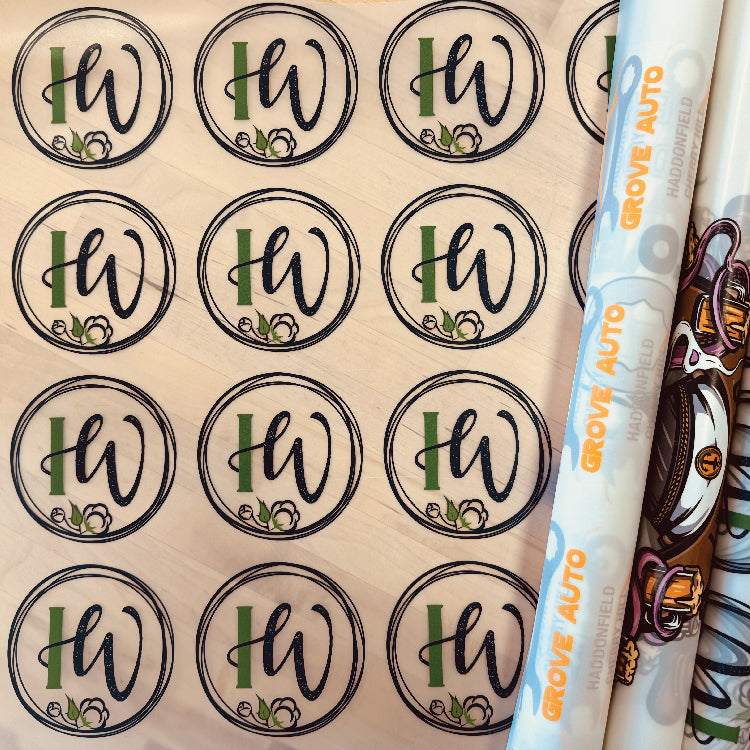
Create customized layouts, simplify your workflow, and use various designs on a single gang sheet. Embrace creativity and revamp your printing process with our DTF Gang Sheet Builder.
Features
- Streamlined Workflow: Simplify your printing workflow with our DTF Gang Sheet Builder. Design, arrange, and optimize your gang sheets effortlessly for a smoother production experience.
- Multiple Sizes: Build custom layouts that optimize space and streamline your printing process across five different sizes.
- Design Flexibility: Experiment with various design combinations on a single sheet. Our Gang Sheet Builder empowers you to explore creativity while maintaining precise print quality.
- Print with Confidence: Ensure consistent and vibrant results with your customized gang sheets. From intricate details to vivid colors, your prints will captivate every time.
Design Requirements
Vector art is always preferred, raster art should be at least 300 dpi. Preferred file types: AI, PNG, PDF
Satisfaction Guaranteed
We stand behind the quality of the transfers we print for you. If you are not satisfied, we will reprint with a new or revised file at no additional charge.
Pressing Instructions
Click here to watch our DTF Transfer Pressing Instructions Tutorial Video.
To ensure your DTF transfer looks professionally pressed every time, follow these five simple steps.
- No Need To Pre-Press Or Pre-Iron: Removing moisture is unnecessary. Only do a prepress if you so desire.
- Position Your Design: Take your time to line up your transfer in the desired location on your item. Normally, there is no need to use heat-resistant tape on flat heat presses to keep your design in place, however it is highly recommended when pressing transfers onto hats or when using an iron to keep the transfer in place. You’ll get a feel for when this is needed. For more precise positioning, use our DTF Alignment Ruler Set.
- Press: Press your transfer with medium pressure at 310°F / 155°C for 15 seconds. You cannot damage the transfer by pressing with more heat, pressure, or time -- within reason. However, too much heat can damage your garment, so test first and use parchment paper or a protective guard sheet to protect your garment from a direct iron.
- Let It Cool. Then Peel It: After pressing, let your transfer rest until it is cool to the touch (minimum of 15-30 seconds). To speed up the cooling process, utilize our Fast Cool Peel Air Transfer Blower. Once cool, lift the transfer from one corner and gently peel back. We have a saying in the dojo, which is, don’t use your hands, use your EYES. This ensures every piece of your design is adhering to your item. If not, stop peeling, lay it back down, and trouble shoot as follows -- (1.) If some or all of the design does not transfer AND it was cool when peeling, it means there was not enough heat, pressure, or time. Press your transfer again with more pressure and time first (+5-10 seconds). (2.) If that doesn’t work, try 15°F heat increments until you find the sweet spot. You truly cannot damage the transfer by pressing multiple times.
- Final Press & Wash Instructions: Place the parchment paper included or a single layer of t-shirt material over the design and press again for 15 seconds to soften the design, increase durability, and remove shine. If you want a shiny finish, cover with a protective guard sheet for the final press. When washing, flip shirt inside out, wash on cold and dry using low heat or hang.
For step-by-step pressing instructions for household irons or a Cricut EasyPress, click here.
Shipping & Returns